Contents
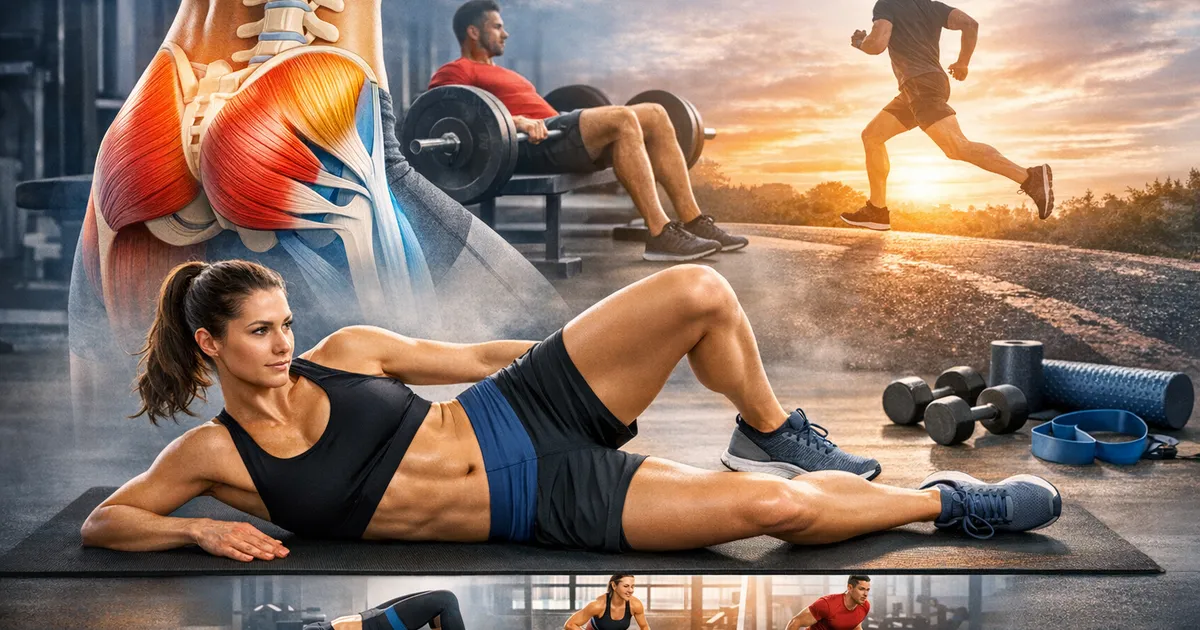
Hip Strengthening Routine for Runners: Complete Exercise Guide
A comprehensive hip strengthening routine targeting all key muscles runners need. Prevent IT band syndrome, runner's knee, and hip pain with these exercises.
Quick Hits
- •This routine targets all four key hip muscle groups runners need
- •15-20 minutes, 3-4 times per week produces significant results
- •Gluteus medius is the most commonly weak muscle in injured runners
- •Progress from bodyweight to bands to weights over 6-8 weeks
- •Can be done after runs, on rest days, or as standalone sessions
Your hips connect your legs to your torso. Every running stride depends on them.
Weak hips cause IT band syndrome, runner's knee, hip pain, and lower back problems. Strong hips prevent them.
Here's a complete routine targeting every hip muscle that matters for running.
The Key Hip Muscles
Gluteus Medius
Location: Side of hip, under gluteus maximus.
Function: Keeps pelvis level when standing on one leg.
Why it matters: Weak glute med = hip drop = cascading injury chain.
Signs of weakness: Hip drops when running (video yourself), knee caves inward.
Gluteus Maximus
Location: Main buttock muscle.
Function: Hip extension, primary running power.
Why it matters: Drives you forward with each stride.
Signs of weakness: Hamstrings overwork and strain, reduced power uphill.
Hip External Rotators
Location: Deep in buttock, behind glute max.
Function: Rotate thigh outward, stabilize hip.
Why it matters: Prevent knee caving and rotational stress.
Signs of weakness: Knee collapses inward during single-leg squat.
Hip Flexors
Location: Front of hip.
Function: Lift thigh, flex hip.
Why it matters: Knee drive during running, especially at faster paces.
Signs of weakness: Limited knee lift, anterior pelvic tilt.
The Complete Routine
Beginner Level (Weeks 1-3)
Equipment: Bodyweight only, mat optional.
Frequency: 3 times per week.
Duration: 15 minutes.
| Exercise | Sets x Reps | Target Muscle | Technique Cue |
|---|---|---|---|
| Glute Bridge | 2 x 15 | Glute max | Squeeze at top, don't arch back |
| Clamshell | 2 x 15/side | Glute med | Keep hips stacked, don't roll back |
| Side-Lying Leg Raise | 2 x 12/side | Glute med | Leg in line with body, not forward |
| Fire Hydrant | 2 x 12/side | External rotators | Keep hips level, controlled movement |
| Donkey Kick | 2 x 12/side | Glute max | Keep back flat, squeeze glute |
| Standing Hip Flexor March | 2 x 10/side | Hip flexors | Lift knee above hip, stay tall |
Exercise Details
Glute Bridge
- Lie on back, feet flat, knees bent at 90 degrees
- Push through heels to lift hips until body forms straight line
- Squeeze glutes hard at top for 2 seconds
- Lower with control
- Don't hyperextend lower back at top
Clamshell
- Lie on side, knees bent 45 degrees, feet together
- Keep feet touching throughout
- Lift top knee toward ceiling as high as possible
- Keep hips stacked - don't roll backward
- Lower with control
Side-Lying Leg Raise
- Lie on side, bottom leg bent for stability
- Top leg straight, in line with body (not forward)
- Lift top leg toward ceiling, toes pointing forward
- Don't rotate leg outward
- Control the descent
Fire Hydrant
- Start on hands and knees, back flat
- Keeping knee bent, lift leg out to side
- Lift until thigh is parallel to ground
- Keep hips square - don't twist
- Lower with control
Donkey Kick
- Start on hands and knees, back flat
- Keep knee bent at 90 degrees
- Push foot toward ceiling, squeezing glute
- Don't arch lower back
- Control the descent
Standing Hip Flexor March
- Stand tall, engage core
- Lift knee above hip height
- Hold for 1-2 seconds
- Lower with control
- Alternate sides
Intermediate Level (Weeks 4-6)
Equipment: Resistance band (medium tension).
Frequency: 3-4 times per week.
Duration: 18 minutes.
| Exercise | Sets x Reps | Target Muscle | Technique Cue |
|---|---|---|---|
| Single-Leg Glute Bridge | 3 x 10/side | Glute max | Keep hips level, don't rotate |
| Banded Clamshell | 3 x 15/side | Glute med | Band above knees, control the tension |
| Monster Walk | 3 x 15/direction | Glute med | Stay low, maintain band tension |
| Banded Fire Hydrant | 2 x 12/side | External rotators | Band above knees, full range |
| Standing Hip Abduction | 2 x 12/side | Glute med | Band around ankles, stay tall |
| Hip Flexor March with Hold | 2 x 8/side | Hip flexors | 3-second hold at top |
Exercise Details
Single-Leg Glute Bridge
- Standard bridge setup, extend one leg straight
- Push through planted heel only
- Keep hips level at top - don't let extended side drop
- 2-second squeeze at top
- Same total reps each side
Banded Clamshell
- Band placed just above knees
- Same technique as bodyweight version
- Band adds resistance throughout movement
- Control especially on the way down
- Keep constant tension
Monster Walk
- Band around ankles or above knees
- Quarter-squat position, chest up
- Step sideways, leading with one foot
- Trailing foot follows, maintaining tension
- Don't let feet come completely together
Standing Hip Abduction
- Band around ankles
- Stand tall, hold wall for balance
- Lift leg directly out to side
- Keep toes pointing forward
- Control return against band resistance
Advanced Level (Weeks 7+)
Equipment: Resistance band + dumbbells or kettlebell.
Frequency: 3-4 times per week.
Duration: 20 minutes.
| Exercise | Sets x Reps | Target Muscle | Technique Cue |
|---|---|---|---|
| Hip Thrust | 3 x 10 | Glute max | Shoulders on bench, drive through heels |
| Banded Monster Walk | 3 x 20/direction | Glute med | Heavier band, maintain squat depth |
| Single-Leg Romanian DL | 3 x 8/side | Glute max, hams | Hip hinge, keep back flat |
| Copenhagen Plank | 2 x 20 sec/side | Hip adductors | Top leg on bench, hold position |
| Lateral Band Walk | 3 x 15/direction | Glute med | Band at ankles, stay low |
| Weighted Hip Flexor March | 2 x 10/side | Hip flexors | Ankle weight or hold dumbbell |
Exercise Details
Hip Thrust
- Upper back on bench, feet flat on floor
- Barbell or dumbbell across hip crease
- Drive through heels, squeeze glutes at top
- Full hip extension without hyperextending back
- Controlled descent
Single-Leg Romanian Deadlift
- Stand on one leg, slight knee bend
- Hold weight in opposite hand or both hands
- Hinge at hip, lowering weight toward floor
- Back leg extends behind for balance
- Drive through hip to return to standing
Copenhagen Plank
- Side plank position, top leg on bench/chair
- Bottom leg floating beneath bench
- Hold position, keeping body straight
- Don't let hips sag
- Builds adductor strength for stability
Progression Schedule
Week 1-2: Foundation
- Bodyweight only
- Focus on form over reps
- 3 sessions per week
- Don't rush movements
Week 3-4: Building
- Add light resistance band
- Increase reps slightly
- Maintain form quality
- Note which exercises feel weakest
Week 5-6: Developing
- Medium resistance band
- Add intermediate exercises
- 3-4 sessions per week
- Exercises should feel challenging
Week 7-8: Strengthening
- Heavier band or add weights
- Full advanced routine
- Maintain consistency
- Running should feel more stable
Week 9+: Maintenance
- Continue 2-3 times per week
- Maintain intensity
- Don't regress
- Re-evaluate every 4-6 weeks
Integration with Running
Best Times to Do Hip Work
After easy runs:
- Muscles are warm
- Combines training efficiently
- 15-20 minutes post-run
Rest days:
- Standalone session
- Can do longer routine
- No running fatigue to consider
Before strength training:
- As activation/warmup
- Primes hip muscles
- 10 minutes before lifting
Avoid
Before hard workouts:
- Pre-fatigued hips alter mechanics
- Save energy for quality running
- Light activation only is okay
When extremely fatigued:
- Poor form reinforces bad patterns
- Better to skip than do poorly
- Quality over quantity always
Troubleshooting Common Issues
Can't Feel Glutes Working
Try:
- Slower reps with holds at top
- Poke the muscle to increase awareness
- Reduce range if needed to feel engagement
- Pre-activation: squeeze glutes hard before each set
Hip Flexor Cramps During Exercises
Try:
- Reduce range of motion
- Don't hold at top as long
- Ensure adequate hydration
- May indicate weakness - start lighter
One Side Significantly Weaker
Try:
- Start each set with weaker side
- Add 1-2 extra reps on weak side
- Don't compensate with stronger side
- Be patient - asymmetries take time
Soreness the Day After
Normal: Mild muscle soreness in target areas.
Concerning: Sharp pain, joint pain, or pain that worsens with movement.
Action: Reduce intensity if soreness limits next session. See professional if pain persists.
Signs the Routine Is Working
Early Signs (Weeks 2-4)
- Less hip tightness after sitting
- Exercises feel more controlled
- Better balance on single-leg movements
- Reduced post-run hip soreness
Mid-Term Signs (Weeks 4-8)
- Visible improvement in single-leg squat form
- Less hip drop visible when running
- Able to progress to harder exercises
- Running feels more stable
Long-Term Signs (Weeks 8+)
- Reduced or eliminated injury niggles
- Better running economy
- Faster finish in races (form holds up)
- Confidence in hip strength
Strong hips are the foundation of injury-free running. This routine systematically builds the gluteus medius, gluteus maximus, external rotators, and hip flexors you need. Fifteen to twenty minutes, three to four times per week. The consistency compounds into real results.
Track your hip strength progress with our Training Log.
Key Takeaway
This hip routine systematically strengthens the gluteus medius, gluteus maximus, hip external rotators, and hip flexors that runners need. Do it 3-4 times per week for 15-20 minutes, progressing from bodyweight to resistance bands over several weeks. Stronger hips mean fewer injuries and better running economy.
Frequently Asked Questions
How often should I do this hip routine?
When will I notice improvements?
Should I do this before or after running?
What equipment do I need?
Can this routine fix IT band syndrome?
References
- Hip biomechanics research
- Running injury studies
- Physical therapy protocols